Modifying Orders
During order creation, the system records details of all the promotions that impact a cart. The saved promotions might be re-evaluated when a modification is made to the shipments of an order. Only saved promotions are eligible for that order after the order has been submitted.
During the post-submission workflow, you can modify order shipments.
| • | Any changes to a shipment (addition of a new shipment, deletion of an existing shipment or modifying the fulfillment option) will result in the re-evaluation of promotions based on the promotions that were saved at the time of the original order submission. |
| • | The promotion engine does not take into consideration any other promotion. |
| • | A coupon can only be applied if the post-submission workflow permits modification of the order shipments. |
After an order is created, it can be modified depending on the status in the order workflow. For example, you would not be able to modify a completed or canceled order.
| 1. | To edit an order, select and click an Order. |
| 2. | Click Edit. |

Figure 1 - Orders, Edit order button
Once orders are created, they cannot be deleted from the system due to auditing regulations.
Note: If someone is already modifying this order, you must take ownership of an order before you can modify it.
Modifying Order information
When editing an order, you can modify customer details such as the name in the order, email address and phone.
Note: Modifying information in the order itself, will not affect the customer record.
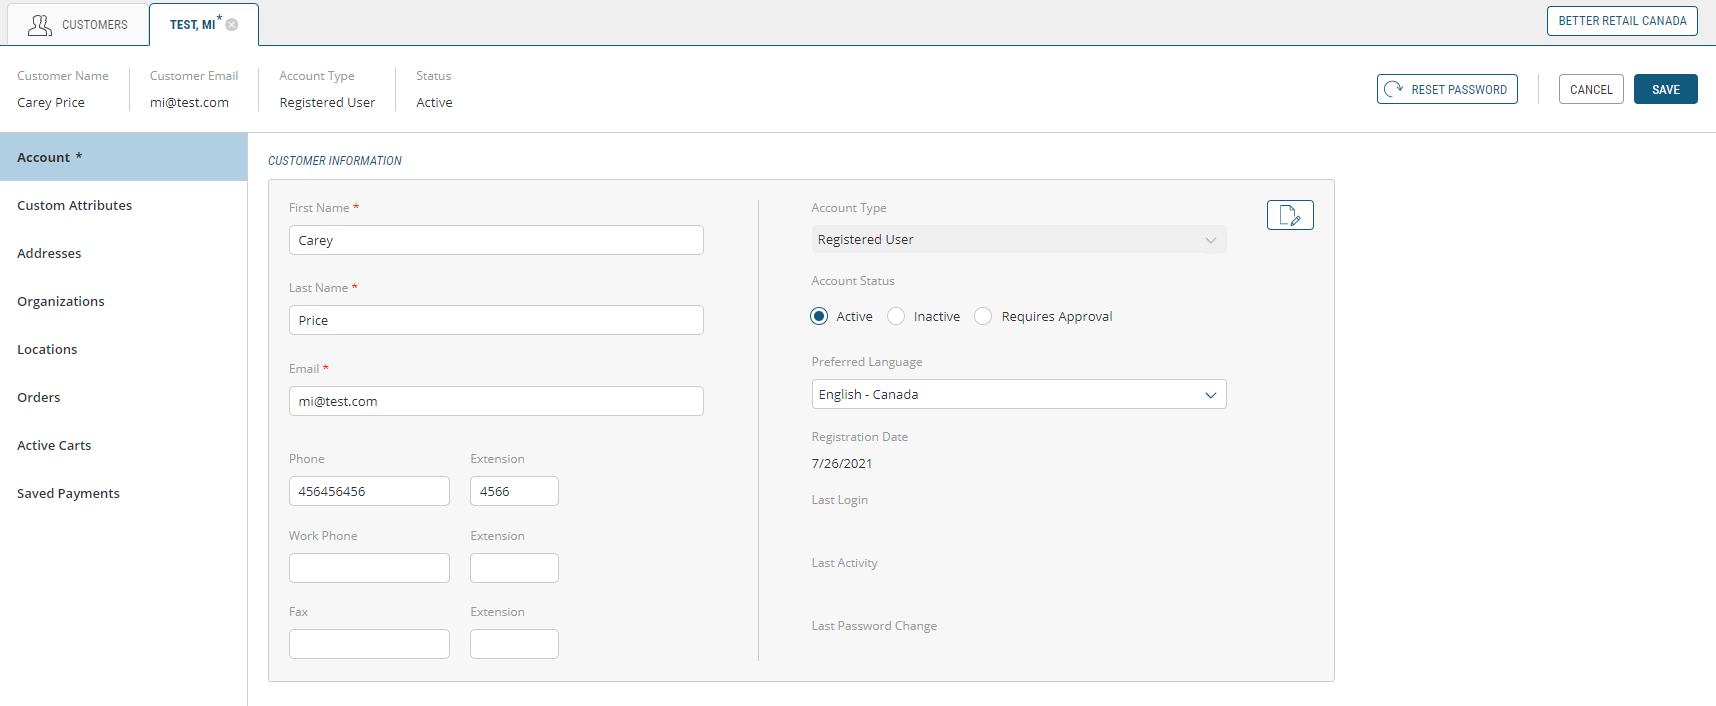
Figure 2 - Customers, Modifying an order
Modifying items
Customers can change their minds after placing an order. The Order Management application will allow you to modify shipments that have not been fulfilled.
Modifying the Quantity of an Item
To edit items, click the Items tab. Clicking a product under a shipment automatically enables the edit mode. You can edit the quantity of each item in the shipment.
Important: Updating the items quantity will impact the order total. When increasing the quantity of an item, you will need to void the existing payment and take a new payment for this order. You can also keep the first payment and add an additional payment to the order so the remaining balance can be seized on the customer's credit card. When the customer pays in store, simply add a payment with the remaining balance and select the proper in store payment method.
Decreasing the quantity of an item does not require voiding a payment. Once the shipments are all fulfilled, only the total of the fulfilled items will be seized on the customer's credit card.
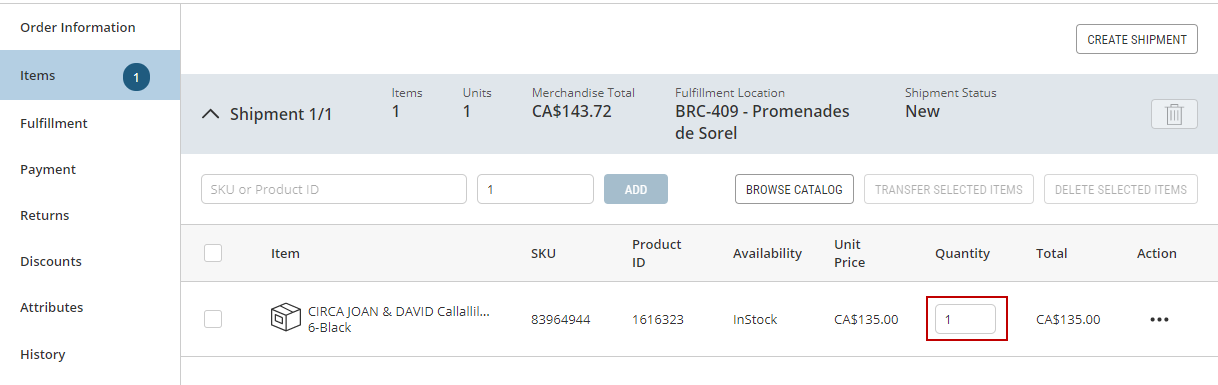
Figure 3 - Orders, Editing the item quantity
Adding items
Clients may decide to add items to their order after the order has been submitted. There are two ways to accomplish this. Depending on the current fulfillment state, adding items may create a separate shipment automatically.
Important: Updating the item quantity will impact the order total. To accomplish this without disrupting the workflow, you are obliged to create a new shipment, rather than clicking the add arrows in the original shipment.
For more information on adding items to an order and managing payments, see Adding Items in an Order, Modifying Orders and Managing Payments
Deleting items
Clients may decide to subtract items from their order after the order has been submitted. Follow these steps to delete items from an order.
Note that items can be deleted outright, or only in quantity, for example, a customer previously chose to buy two of the same shirts but now only wants one.
| 1. | Click Items tab. |
| 2. | Check the box next to the item being deleted. |
| 3. | Click Delete Selected Items or |
| 1. | Adjust Quantity. |
| 2. | Click Submit. |
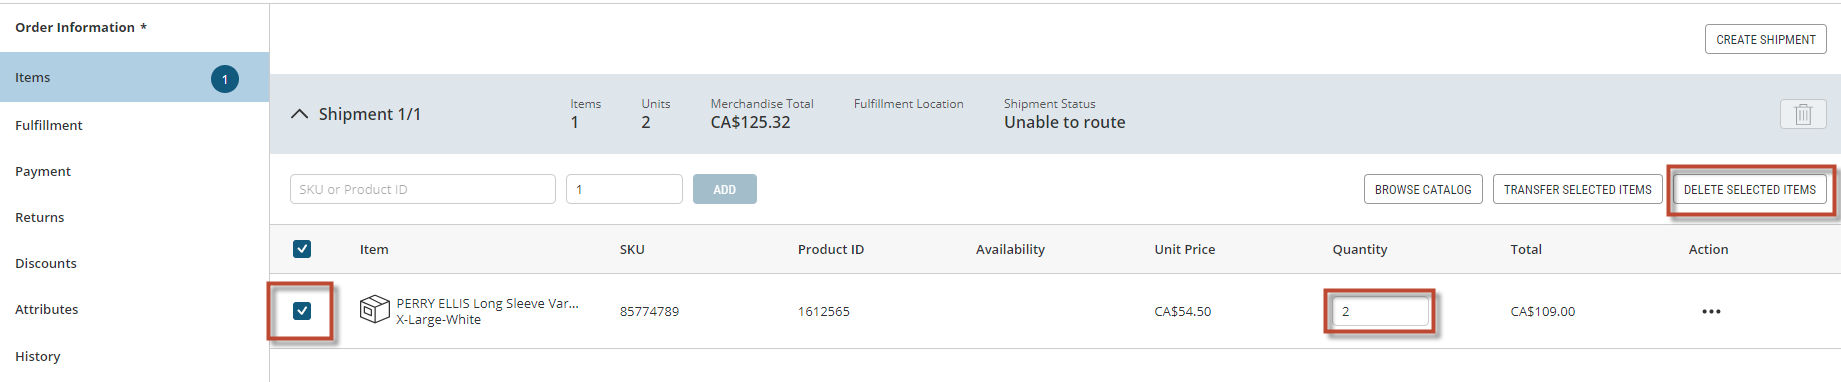
Figure 4 - Orders, Order item quantity
Line Items
You now have the ability to get details for items (line items) in an order. As a CSR agent, you can create, view and modify the Item custom attributes associated with any order line item so that you can respond to customer's inquiries or requests.
Creating Orders: after creating an order, you can click an item to view its base and Item custom attributes.
Viewing Orders: in the Item Details section, you can click on a item to view its base and Item custom attributes.
Modifying Orders: after adding items to an order, you can click on a item to view its base and Item custom attributes.
| 1. | Base attributes info can be viewed by clicking the Attributes section. |
The Item Details displayed are item Name, SKU, Product ID, Variant ID and Unit Price.
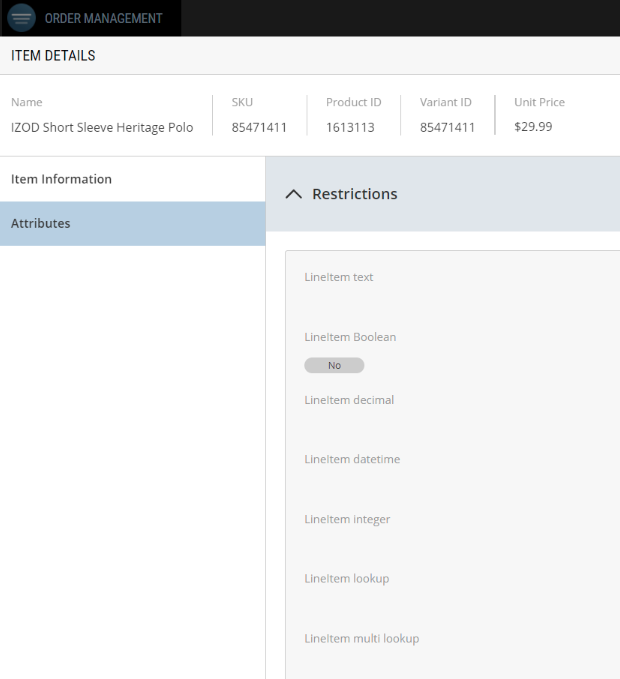
Figure 5 - Item Details Attributes
| 1. | Line item changes are updated once the Order is submitted, or |
Click the cancel button if any modifications need to be reverted.
Tip: You can leverage Item custom attributes for product substitutions.
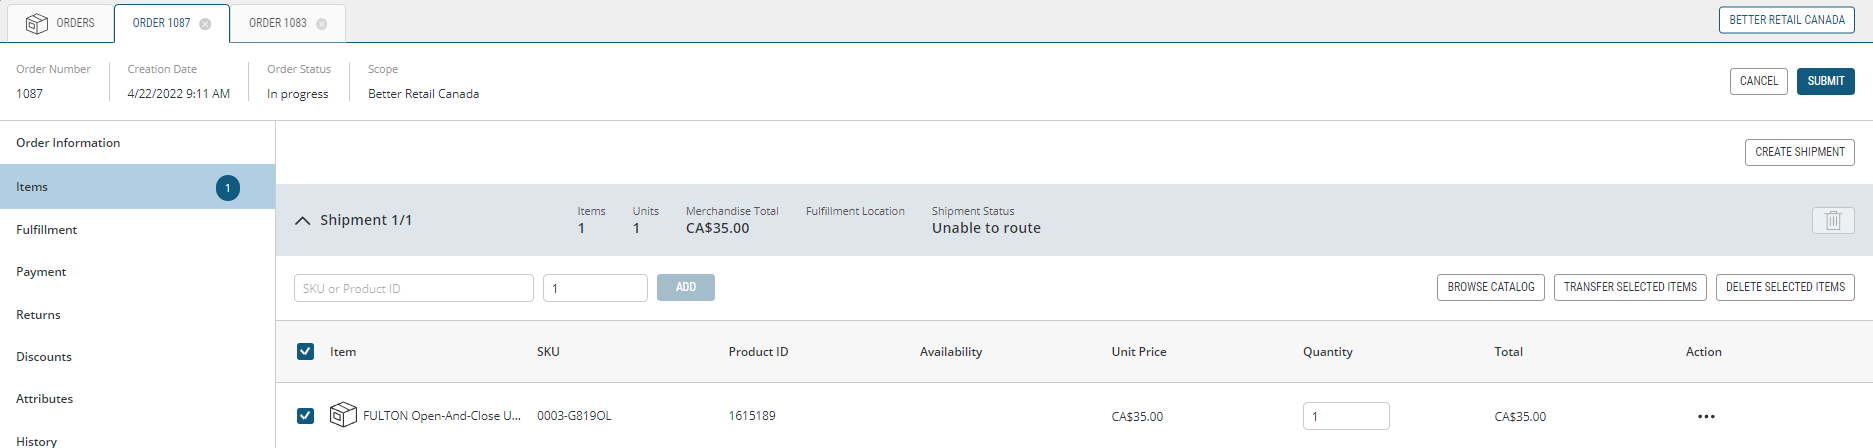
Figure 6 - Items section
Modifying Shipments
Adding a Shipment
An order can be split into multiple shipments.
Use the following steps to add a shipment to a draft order or to an existing order:
| 1. | In the Items tab, click Create Shipment. |
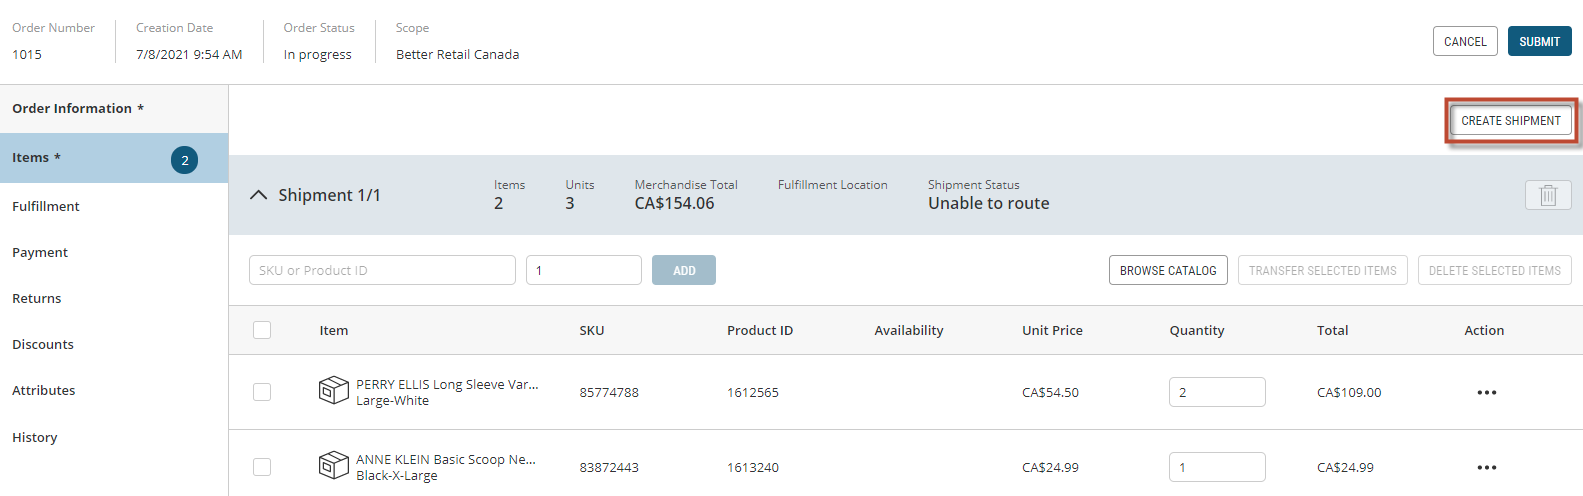
Figure 7 - Orders, Creating a shipment
An additional Shipment Header will automatically appear at the base of the page. You can now add items to this shipment. See Adding Items to add items to the additional shipment.
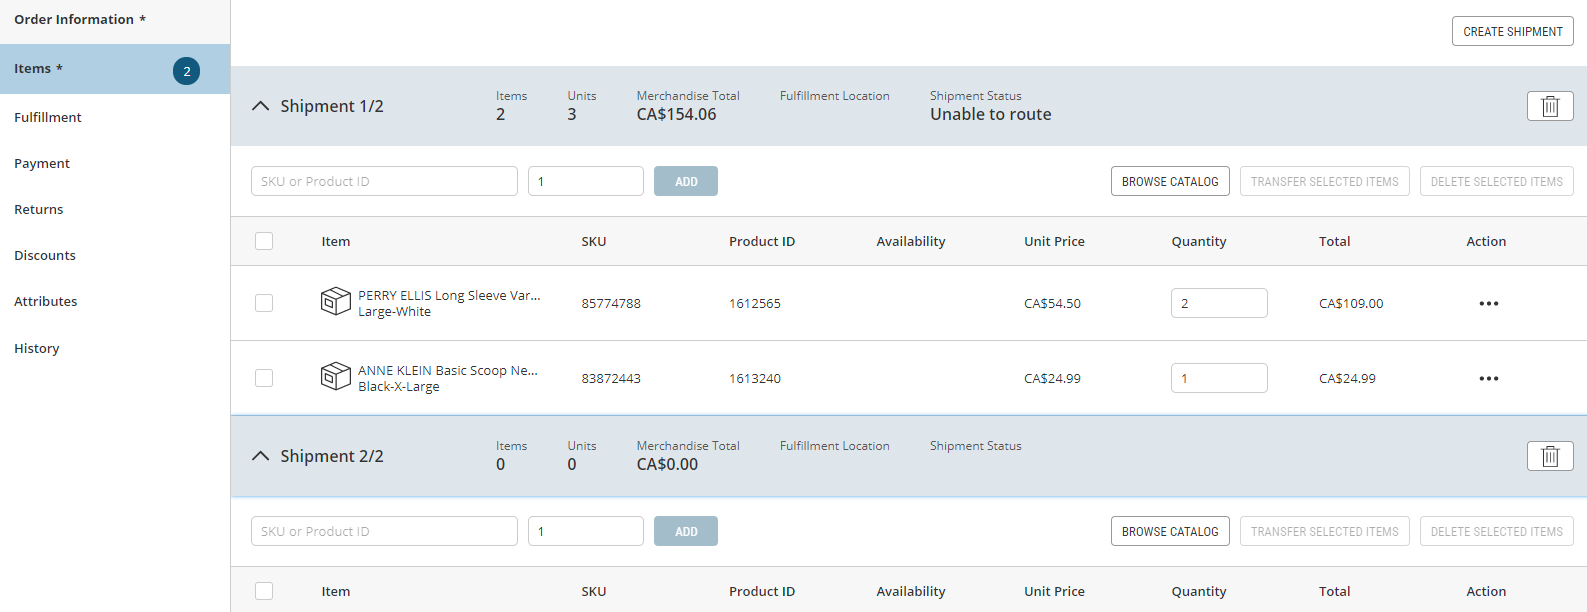
Figure 8 - Orders, Multiple Shipment headers
Example: In cases when a customer orders multiple items and some are out of stock, then an order can be split into multiple shipments: the first shipment can be fulfilled by Location A, while the other shipments would be reassigned to other locations where the required items are in stock.
Transfer items to a new or an existing shipment
In the Items tab, click the Item(s) to be transferred to another shipment.
| 1. | Click Transfer Selected Items. |
| 2. | From the drop-down menu, select the Shipment that the item needs to be transferred to. |
The item will automatically be transferred to the selected shipment.
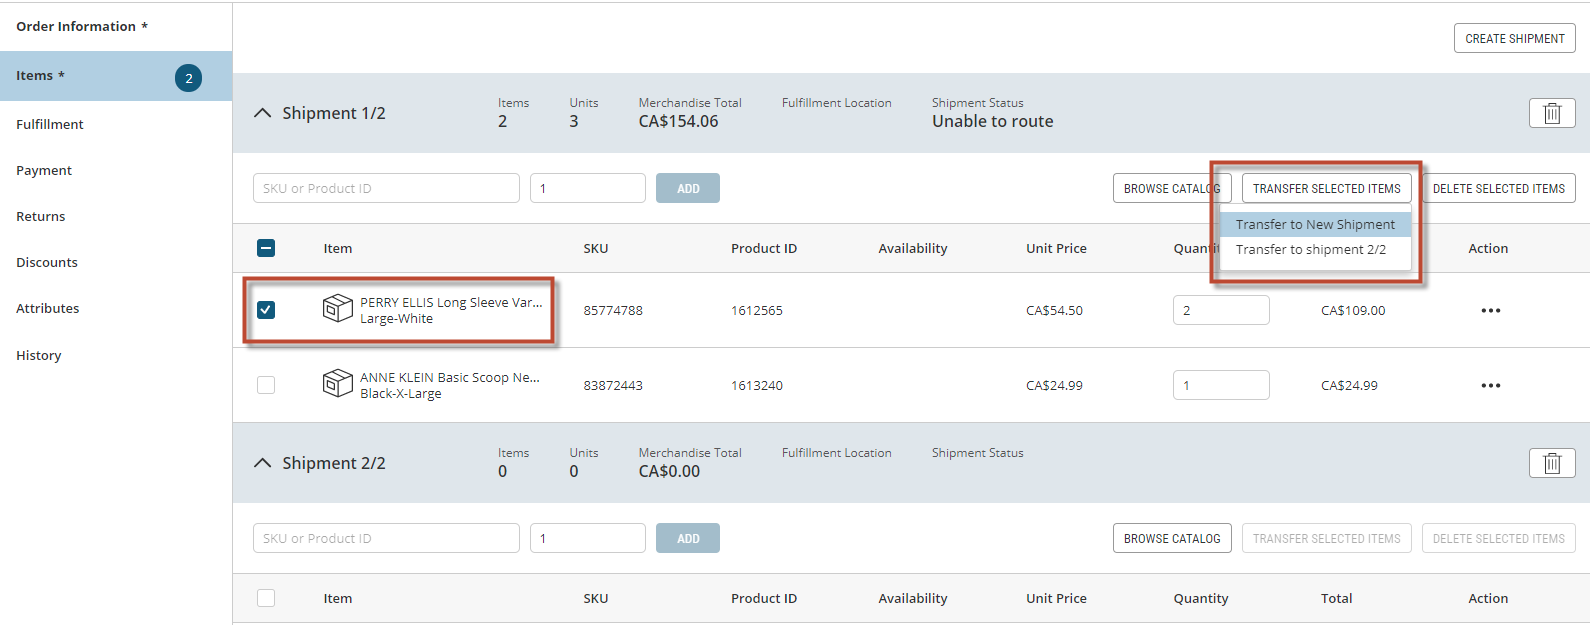
Figure 9 - Orders, Transferring items between shipments
deleting a Shipment
Shipments occasionally need to be deleted for a variety of reasons, for example. customers may have changed their minds about a purchase.
| 1. | Locate the shipment to be deleted and click the Trash can icon. |

Figure 10 - Orders, Deleting a shipment
This will bring up the Confirm Deletion box.
| 2. | Click Yes to confirm deletion or No to abandon deletion. |
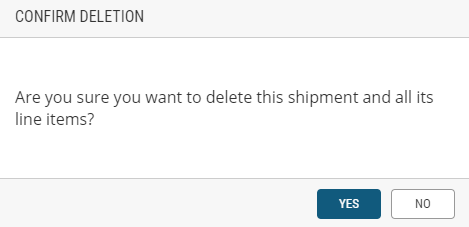
Figure 11 - Orders, Confirmation of deletion
modifying fulfillment options
You can make changes to an existing order that has not been fulfilled. For example, you may need to change the fulfillment method or change the pickup store. To set the fulfillment options of an order or modify an existing one, refer to Managing Fulfillment Options .
modifying payments
Price totals (and therefore payments) can be affected when clients modify their orders: when they request to adjust item quantities, add items, delete items. In these cases, payments can be added, adjusted or even voided when necessary.
Important: Increasing the quantity of items affects the total amount of the order. By increasing the quantity of an item, or adding an item, the payment will need to be canceled and a new payment will need to be processed. You can also keep the first payment and create an additional payment to be applied to the remaining balance.
For more information see Managing Payments and Voiding a Payment